

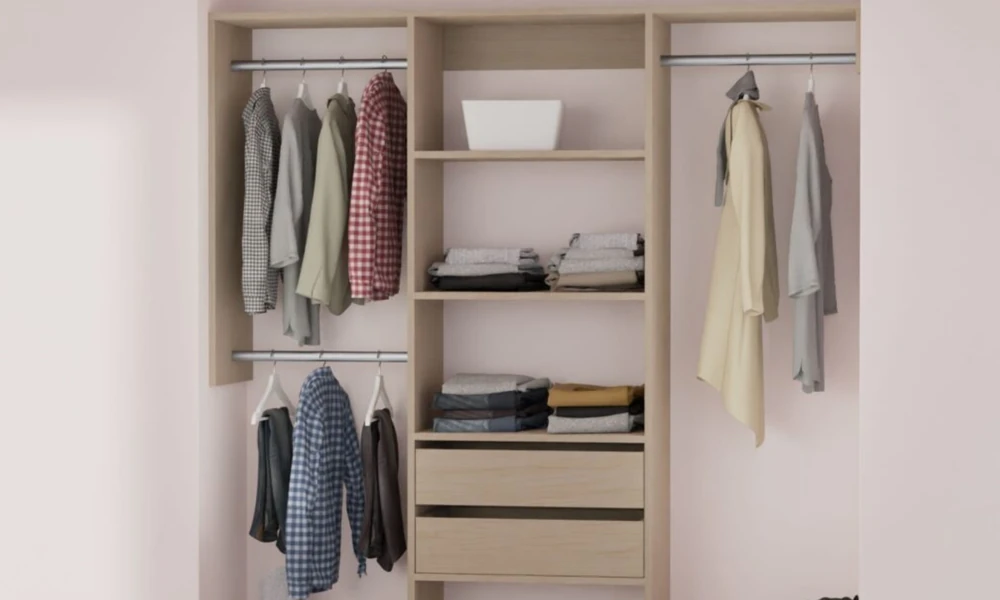
You already know a cluttered bedroom steals time and headspace. I focus on helping readers turn tight spaces into clear, practical wardrobes that are easy to keep tidy. The advice below is based on what works in typical New Zealand homes, using flexible parts, simple installation steps, and clear priorities. If you want a quick starting point for reach-in ideas, explore wardrobe systems nz to see configurations that suit common bedroom sizes.
You will learn how to plan storage that fits your room, how to choose the right components, and how to install a system with basic tools. I will also explain why Kitset Wardrobes is a strong option if you want efficient, budget-friendly built-in wardrobe storage without losing flexibility.
Start With Three Clear Goals
Before you pick parts, write down three outcomes you want from your wardrobe. Keep them short and practical.
- Faster morning routine
- A place for every item
- Less visual clutter
I suggest you let these goals steer every choice that follows. If a feature does not help at least one goal, skip it.
Map Your Clothing and Accessory Inventory
A great layout starts with real numbers. List the items that need a home.
- Tops, pants, dresses, jackets
- Shoes, bags, hats
- Sports gear, seasonal items, luggage
- Jewellery, belts, ties, scarves
Count what needs long hanging, double hanging, drawer space, and shelf space. This step decides your tower mix and rail lengths for reach in wardrobes and walk-in layouts.
Measure the Space You Have
Accurate measurements protect you from redesigns later.
- Measure width, height, and depth in three places each
- Note skirting boards, power points, and any pipes or hatches
- Check door swing or slider clearance
If you are planning a built in wardrobe NZ layout in an alcove, capture the tightest width. Many systems supply top shelves and rails oversized, which you can trim to fit. This flexibility is helpful for uneven walls often found in older homes.
Choose a Layout That Matches Your Room
For bedrooms that need efficient storage without extra floor area, reach-in wardrobes are a smart choice. They pack in hanging, drawers, and shelves in a shallow space.
- Small rooms: one tower with drawers and adjustable shelves, plus double hanging on one side
- Medium rooms: central tower with drawers, double hanging on both sides, pull-out shoe tray at the base
- Family rooms: two towers with one dedicated to drawers and accessories, long hanging on one side for coats and dresses
For built in wardrobes NZ, aim for a clean, integrated look. Choose tower heights that align with door openings and a top shelf that runs wall to wall for visual continuity.
Pick Components With Daily Use in Mind
I recommend a simple mix that handles most wardrobes well.
- Drawer towers for folded items and small accessories
- Adjustable shelves for knits and handbags
- Double hanging for shirts, skirts, and trousers
- Long hanging for coats and dresses
- Pull-out shoe trays to keep pairs visible
- Accessory trays, pants racks, and valet rails for polish
If you want a built in wardrobe organiser that adapts as your needs change, choose modular parts. That makes it easy to add a drawer pack later or shift shelves for boots in winter.
Why I Recommend Kitset Wardrobes
You have many wardrobe storage solutions NZ can offer. I suggest you put Kitset Wardrobes on your shortlist for a few reasons that matter to most homeowners.
- Customisable without the cost of full bespoke joinery
- Pre-designed reach-in and walk-in options that suit typical NZ room sizes
- Online 3D planner for quick layout testing
- Oversized shelves and rails you can trim for a perfect fit
- Flat-pack delivery with clear instructions made for DIY
- Many orders dispatched within a few days and shipped nationwide
They design for practical daily use and consistent quality, which helps you avoid overcomplicated setups that do not match your routines.
Plan Your Budget and Phasing
Set a realistic budget by breaking the project into parts.
1. Carcass and towers
2. Drawers and internal accessories
3. Doors and trims if needed
4. Lighting and finishing touches
If funds are tight, stage the project. Install towers and rails first, then add a second drawer pack or shoe storage later. Custom wardrobe systems that are modular make this easy.
Installation Steps You Can Handle
Most DIYers can assemble and install a reach-in system with basic tools. Follow a calm, ordered process.
1. Mark stud positions and confirm wall type
2. Assemble towers on the floor
4. Install top shelf and hanging rails, trimming as needed
5. Add drawers, shelves, and accessories
6. Level, tighten, and test all moving parts
Use a long level, a stud finder, a drill, and a fine-tooth saw. Take your time with trim cuts. Neat edges lift the whole look.
Practical Layout Tips That Work
- Keep everyday hanging between shoulder and waist height
- Store special occasion items higher up
- Give shoes their own zone to stop pile-ups
- Assign a drawer for each person or category to keep routines simple
- Leave 5 to 10 percent spare space for future growth
For a wardrobe organiser NZ buyers will not outgrow, build flexible zones and avoid single-purpose features that eat space.
Doors and Access
If you plan sliding doors, allow for full access to each section. Aim for tower widths that align with door panels for easy reach. For hinged doors, confirm door swing clears bedsides and heaters.
Maintenance and Small Upgrades
Keep the system working well with light upkeep.
- Re-hang out-of-season clothes in breathable bags
- Adjust shelves as seasons change
- Add a pull-out tray for accessories if drawers feel crowded
- Use soft bins on top shelves for light items
Small changes keep built in wardrobe storage efficient as your needs shift.
Common Mistakes To Avoid
- Ignoring long-hanging space for coats and dresses
- Overloading with drawers when shelves and double hanging would serve you better
- Forgetting door clearance in compact rooms
- Skipping wall fixing, which reduces stability
- Designing without a small buffer for new items
Your Next Step
Define your three goals, measure carefully, and build a layout around your real inventory. If you want a fast path to a clean, functional setup, consider Kitset Wardrobes for reach-in wardrobes, built-in configurations, and custom wardrobe systems you can install yourself. Their range makes it straightforward to create a built in wardrobe organiser that fits your room and your routine without stretching your budget.
